Homemade Fruit Roll-Ups: Easy, Healthy, and Tasty!
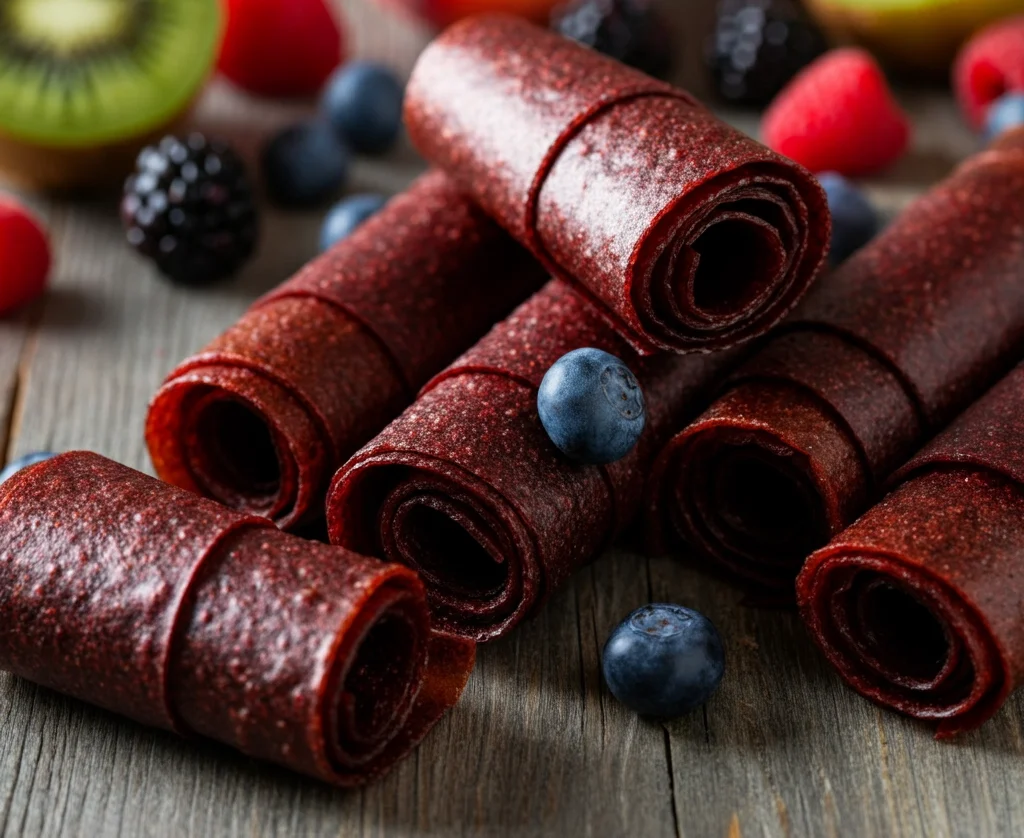
Fruit roll-ups are a nostalgic treat, but store-bought ones often come loaded with sugar and additives. Why not make a healthier version at home? With just fresh fruits, a blender, and an oven or dehydrator, you can whip up tasty, all-natural fruit leather. Perfect for kids and adults, these roll-ups are easy, delicious, and great for lunchboxes or on-the-go snacking!
Why Make Fruit Roll-Ups at Home?
Making your own fruit roll-ups isn’t just healthier — it’s also super simple and endlessly customizable. When you whip these up at home, you:
- Control the ingredients: Use fresh, ripe fruits and no added sugar (unless you want to add a small drizzle of honey or maple syrup).
- Reduce waste: Save overripe or extra fruits by turning them into roll-ups.
- Customize flavors: Combine your favorite fruits and spices to create unique blends.
- Enjoy a guilt-free snack that works for all ages!
How to Make Homemade Fruit Roll-Ups
Making fruit leather is surprisingly easy — here’s how it’s done:
Ingredients:
- 2–3 cups of fresh fruit (use your favorite or a mix! Think strawberries, raspberries, mangoes, apples, or peaches.)
- Optional sweetener, like honey or maple syrup (only if needed!)
- Optional flavor boosters, like cinnamon, vanilla extract, or lemon juice.
Equipment:
- A blender or food processor
- Baking sheet with parchment paper or a silicone baking mat (for an oven) OR a dehydrator
Instructions:
- Prep Your Fruit
Wash your fruit thoroughly and remove any stems, seeds, or pits. For fruits like apples or peaches, you can peel them if you prefer a smoother texture, but leaving the skin on adds fiber! - Blend It Up
Toss the prepared fruit into your blender or food processor. Blend until the mixture is completely smooth. If your fruit is on the tart side, taste and add a little honey or maple syrup. For extra flavor, now’s the time to sprinkle in a pinch of cinnamon or vanilla extract. - Spread It Out
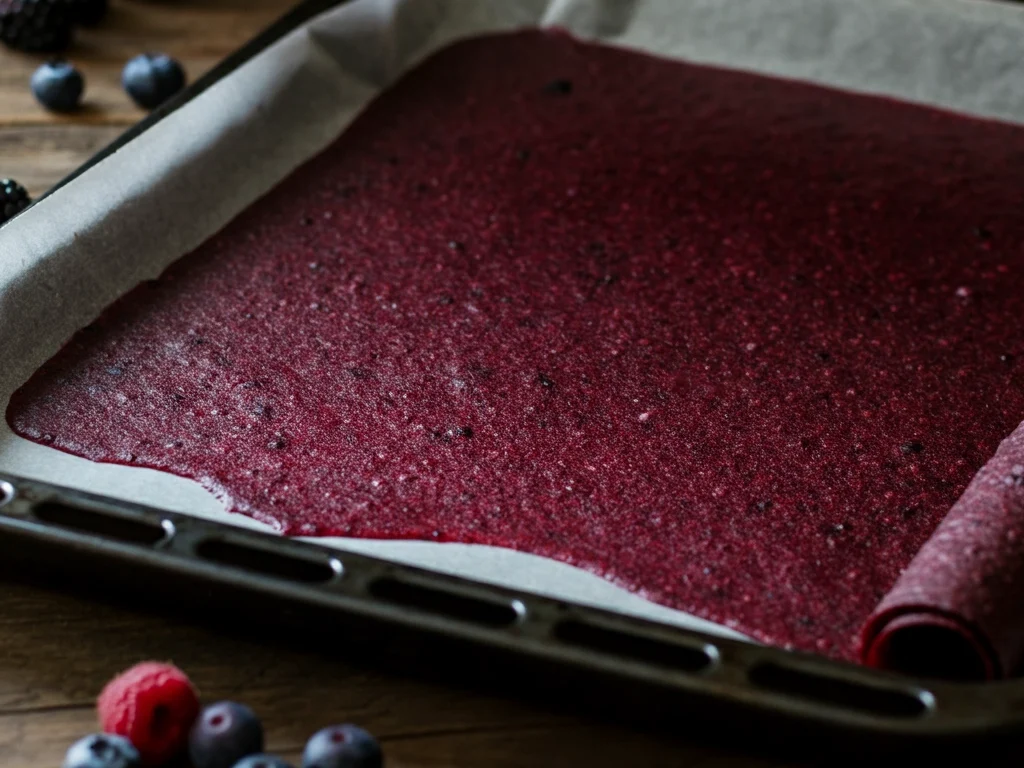
Line a baking sheet with parchment paper or a silicone mat. Pour the fruit puree onto the sheet and spread it out evenly with a spatula. Aim for about 1/8-inch thickness — too thick takes longer to dry, and too thin might crisp up. - Dry It
- Using an Oven: Preheat to 140°F or the lowest setting your oven allows. Place the baking sheet in and leave the door slightly ajar (a wooden spoon works great to prop it open). Dry the fruit for about 4–6 hours. Rotate the pan halfway through for even drying! It’s ready when it’s no longer sticky but still pliable.
- Using a Dehydrator: Set to 135°F and let it run for about 4–6 hours or until the fruit leather has the right texture.
- Cut and Roll
Once dried, remove the fruit leather from the baking sheet and cut it into strips. Lay the strips on parchment paper and roll them up tightly. Secure the rolls with a small piece of string or tape.
Get Creative with Flavors
One of the best parts of homemade fruit roll-ups is the freedom to experiment with flavors:
- Love tropical vibes? Blend mango, pineapple, and a splash of coconut water.
- Prefer cozy autumn flavors? Use apples with a pinch of cinnamon and nutmeg.
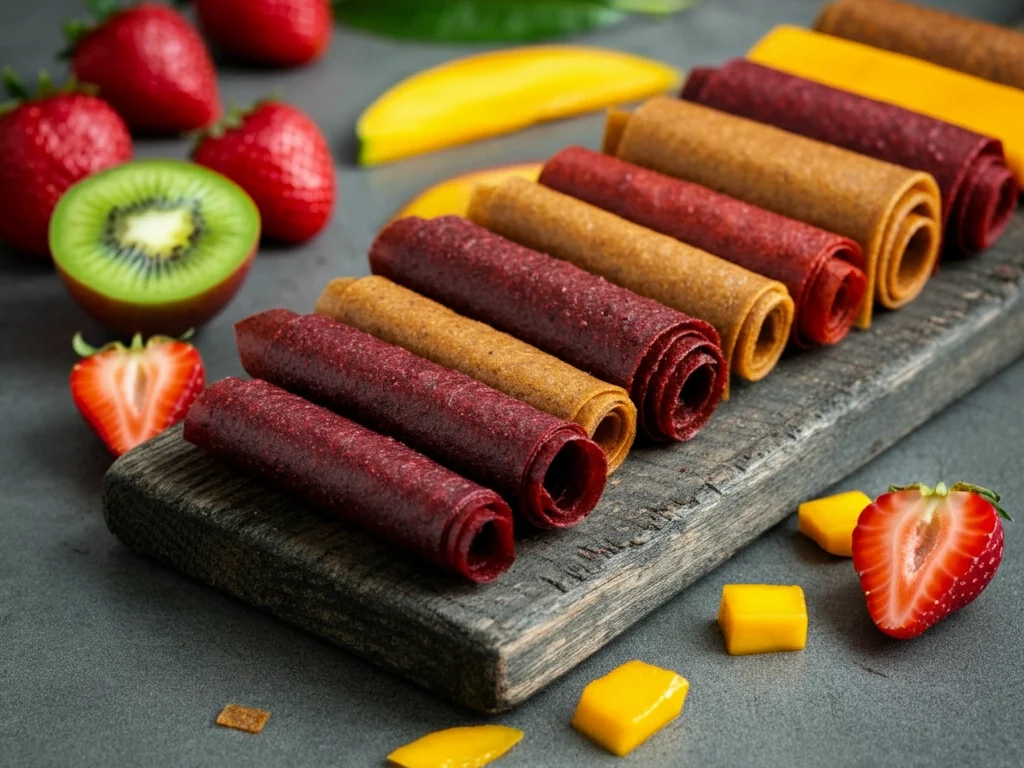
- Feeling berry adventurous? Mix strawberries, blueberries, and raspberries for a power-packed combo.
You can even sneak in some greens, like spinach or kale, when blending. The sweetness of the fruit will mask the taste, making it a great way to add a hidden veggie boost!
Perfect for Every Occasion
These fruit roll-ups are incredibly versatile. Pack them in lunchboxes for kids, stash a few in your bag for busy days, or throw them in your hiking pack for instant energy. They’re the perfect balance of sweetness and nutrition, making them a hit with everyone in the family.
Storage Tips
To keep your roll-ups fresh and chewy:
- Store them in an airtight container or plastic bag.
- They’ll last about 1–2 weeks at room temperature or up to a month in the refrigerator.
For longer storage, you can freeze the roll-ups. Place them in a freezer-safe bag, and they’ll stay good for several months — though we doubt they’ll last that long before getting eaten!
Try It with Seasonal Fruits!
Homemade fruit roll-ups are a year-round treat. Try strawberries in the spring, peaches in the summer, apples in the fall, and citrus-infused blends in the winter. The possibilities are endless, and it’s a fantastic way to celebrate the best flavors each season has to offer.
Now, it’s your turn to bring this fun snack to life in your kitchen. Grab some fruit, blend away, and enjoy a healthy, homemade treat that’s sure to be a crowd-pleaser. Happy snacking!

